
Introduction
Most people start with one-line prompts. They type a quick instruction and hope the AI model figures out the rest.
That approach can work. But it often produces outputs that are too long, too vague, or structured in a way that does not fit the actual need. When that happens, it is easy to assume the tool is not useful. In many cases, the issue is not the tool - it is the structure of the instruction.
A prompt is a set of instructions. The more clearly you define what you want, the more likely the output will match your needs. This article introduces a prompt framework for beginners - a seven-element structure that provides a reliable starting point for writing clear, well-structured prompts, regardless of the task.
You do not need to use all seven elements in every prompt. One element - the task - is always required. The rest are applied based on what the output needs. This article walks through all seven, explains what each one does, and shows you how to combine them into a single, structured prompt.
Section 1 - The Prompt Framework for Beginners: What It Is and Why It Works
The seven-element framework is a structured approach to writing prompts. It gives you a consistent set of questions to answer before you submit a prompt - questions that help you decide what information to include and what to leave out.
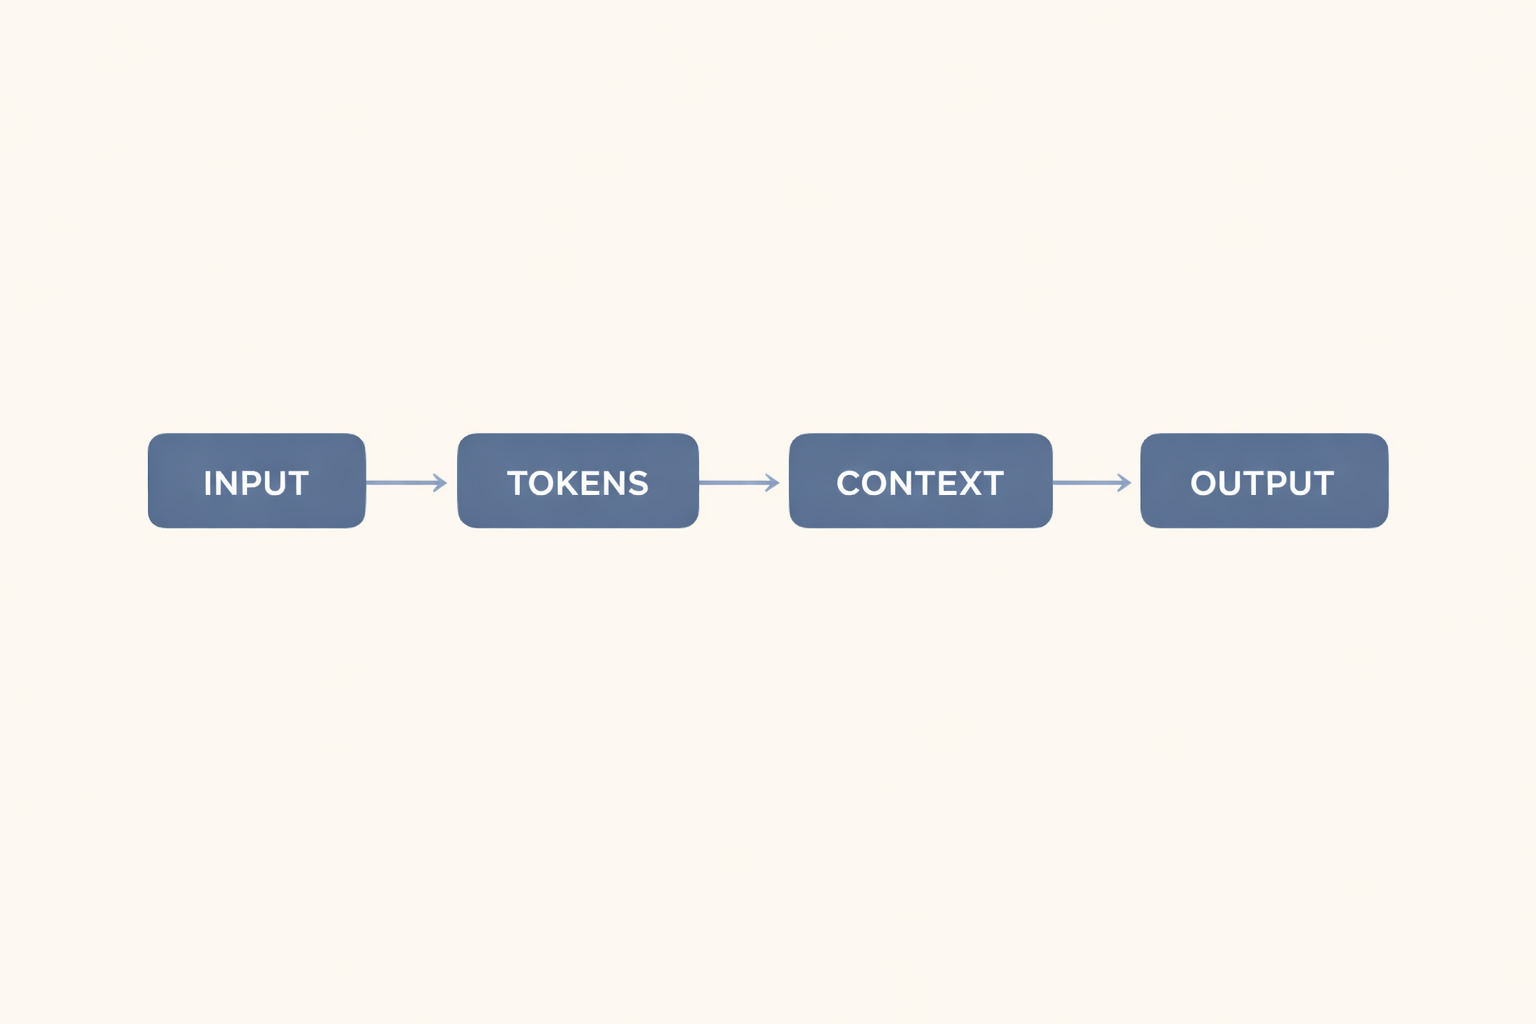
As covered in Chapter 3, a prompt consists of instruction, input, context, and output format. The seven-element framework builds on that foundation, giving you a practical self-check you can run before submitting any prompt.
The seven elements are: Role, Task, Context, Format, Tone, Constraints, and Examples.
Note
These are not rules. They are a self-check. Run through them before you submit a prompt, and include the ones the task actually needs.
Here is why this matters. When a prompt leaves key information undefined, an AI model fills in the gaps using patterns from its training data. Sometimes those patterns align with what you need. Often they do not - the output arrives in the wrong format, at the wrong length, in the wrong voice, or pitched at the wrong audience.
The seven-element framework reduces that gap. It does not eliminate the need for iteration - prompting is rarely a one-shot activity. But a structured first attempt is meaningfully easier to refine than an unstructured one.
The table below shows all seven elements at a glance.
| # | Element | What It Does | Example Phrase | When to Use |
|---|---|---|---|---|
| 1 | Task * | States what you want the model to do - the one required element | "Summarise the following update in three bullet points." | Always - every prompt needs a task |
| 2 | Role | Frames the model with a professional identity or persona | "You are a project manager writing for a non-technical team." | When a professional frame meaningfully changes the output |
| 3 | Context | Provides the background the model needs to tailor its output | "The audience has no engineering background. The summary will be shared in a team email." | When audience, purpose, or conditions matter |
| 4 | Format | Specifies how the output should be structured | "Present as a numbered list. Use short headings for each item." | When the shape and structure of the output must match your intended use |
| 5 | Tone | Names the voice or register the output should use | "Write in plain, direct language. Keep the tone professional." | When the required voice differs from the model's default register |
| 6 | Constraints | Sets the limits - length, scope, content exclusions | "Keep each bullet to one sentence. Avoid technical jargon." | When the task has a specific limit the model would not apply on its own |
| 7 | Examples | Shows the model the pattern you want | "Here is an example: 'Our tool is live.'" | When the style is easier to show than to describe |
* Task is the only required element. All others are applied based on what the task needs.
Section 2 - Each Element Explained
Element 1: Task - The One Required Element
Every prompt needs a task. This is the instruction - what you are asking the model to do.
Vague verbs leave too much open. Specific verbs give the model a defined job.
Compare these two task statements:
| Prompt: | "Help me with this update." |
| What tends to happen: | Output varies widely in format, length, and focus. The model has to decide what 'help' means - and that decision may not match what you need. |
| Prompt: | "Summarise the following project update in three bullet points." |
| What tends to happen: | Output tends to be structured and scoped. The model has a defined job: three bullets, one topic. Much easier to evaluate and refine. |
Task is the anchor. Begin here on every prompt. The remaining elements refine and support it.
Element 2: Role - Frame the Model's Perspective
A role cue gives the model a professional identity or persona. It shapes vocabulary, register, and the frame of reference the model applies to the task.
Example: "You are a communications coordinator writing for an internal non-technical team."
Role is not a default opening for every prompt. Apply it when a professional frame meaningfully changes the output. If the task does not require a specific perspective or register, omit the role cue.
Note
Role sets who is speaking. It does not automatically set the tone. Those are two separate elements.
Element 3: Context - Give the Model What It Needs to Know
Context is the background information that helps the model tailor its output. Without it, the model may produce something technically correct but not suited to the actual situation.
Context typically includes who the audience is, the purpose of the output, and the conditions that apply.
Example: "The audience has no engineering background. The update covers progress from last week, current blockers, and next steps. The summary will be shared in a team email."
Include context when audience, purpose, or conditions matter to how the output should be shaped.
Element 4: Format - Specify How the Output Should Be Structured
Without a format instruction, the model may produce output in a shape that does not fit your intended use.
- A paragraph when you needed bullet points
- A narrative when you needed a table
- A long structured report when you needed a summary
Format tells the model how to organize its output. Be specific: bullet list, numbered list, table, short paragraph, two-sentence summary.
Example: "Present the output as three bullet points. Format as a bulleted list."
Element 5: Tone - Name the Voice the Output Should Use
Tone describes how the output should sound - the voice or register. It is separate from the role. Role frames who is speaking; tone describes how.
Example: "Write in plain, direct language. Keep the tone clear and professional."
Include a tone instruction when the required voice differs from the model's default output. For many standard tasks, the model's default register is close enough. For tasks where voice matters - customer-facing content, sensitive communications, educational material - make it explicit.
Element 6: Constraints - Set the Limits
Constraints define what the output should not do, avoid, or exceed. They set boundaries for scope, length, and content.
Without constraints, a model may overshoot - producing more content than needed, including material outside the intended scope, or using terminology the audience will not understand.
Example: "Keep each bullet to one sentence or fewer. Avoid technical jargon. If a technical term must be mentioned, explain it briefly in plain language."
Apply constraints when the task has a specific limit - length, scope, vocabulary level - that the model would not apply on its own.
Element 7: Examples - Show the Pattern
Examples show the model the pattern you want, rather than describing it. This tends to be most useful when the required style is easier to demonstrate than to define in words.
Example: "Here is an example of the style I want: 'Our new tool is now available and ready to use.'"
One or two short examples are usually enough. Use examples when the output requires a consistent pattern or a specific style that text instructions alone may not capture reliably.
Section 3 - Building a Prompt Step by Step
Knowing the seven elements is different from being able to build a prompt with them. This section walks through the process step by step, using a realistic task: writing a summary of a project update for a non-technical team.
Each step adds one element. The full assembled prompt is shown at the end.
| Step | Element | Text Added to the Prompt |
|---|---|---|
| Step 1 | Task | "Summarise the following project update in three bullet points." |
| Step 2 | Role | "You are a communications coordinator writing for an internal non-technical team." |
| Step 3 | Context | "The audience has no engineering background. The update covers progress made last week, current blockers, and next steps. The summary will be shared in a team email." |
| Step 4 | Format | "Present the output as three bullet points. Format as a bulleted list." |
| Step 5 | Tone | "Write in plain, direct language. Keep the tone clear and professional." |
| Step 6 | Constraints | "Keep each bullet to one sentence or fewer. Avoid technical jargon. If a technical term must be mentioned, explain it briefly in plain language." |
| Step 7 | Examples | "Here is an example of the style I want: 'The team completed the integration last week, and it is ready for testing.'" |
The Complete Assembled Prompt
You are a communications coordinator writing for an internal non-technical team. Summarize the following project update in three bullet points. The audience has no engineering background. The update covers progress made last week, current blockers, and next steps. The summary will be shared in a team email. Present the output as three bullet points. Format as a bulleted list. Write in plain, direct language. Keep the tone clear and professional. Keep each bullet to one sentence or fewer. Avoid technical jargon. If a technical term must be mentioned, explain it briefly in plain language. Here is an example of the style I want: 'The team completed the integration last week, and it is ready for testing.'
This prompt uses all seven elements because the walkthrough is designed to show what each one contributes. Most real prompts will use fewer - typically three to five elements depending on the task.
Start with the task. Add elements based on what the output actually needs. The self-check in Section 2 will help you decide.
Section 4 - How Many Elements Do You Actually Need?
Every prompt needs a task. That is the only non-negotiable element. The rest depend on what the output requires.
Here is a practical way to decide:
- Start with the task. State clearly what you want the model to do.
- Ask: Does this output require a specific professional perspective? If yes, add a role cue.
- Ask: Does the model need background about the audience, purpose, or conditions? If yes, add context.
- Ask: Do you need the output in a specific format - list, table, paragraph? If yes, specify it.
- Ask: Does the voice or register matter for this output? If yes, name the tone.
- Ask: Are there limits the model would not apply on its own - length, vocabulary, scope? If yes, add constraints.
- Ask: Is the required style easier to show than to describe? If yes, include a short example.
For many simple tasks, the task plus one or two additional elements is enough. Add elements when the output needs them. Do not include elements that the task does not require - they add length without adding clarity.
Section 5 - When the Output Is Not Right
The seven-element framework gives you a strong starting point. It does not guarantee a perfect output on the first attempt. AI model outputs vary depending on the task, the model, and the context.
When the first output does not match what you need, identify which element is missing or unclear, then adjust that element and try again.
- Output is too long - add or tighten a constraint on length
- Output is too general - add or improve the context
- Output is in the wrong format - add or correct the format instruction
- Tone is off - add or adjust the tone instruction
- Style does not match - add or refine an example
Change one element at a time where possible. That makes it easier to see which adjustment made the difference. Keep a short note of what worked - it saves time on similar tasks in the future.
Note
Prompting is a skill built through iteration. The framework gives you a reliable first draft. Refining it is how you get to a result you can use consistently.
Common Mistakes to Avoid
Three mistakes appear most often when beginners apply the seven-element framework.
Mistake 1: Omitting the Task Entirely
This is the most common error. A prompt that opens with a role - "You are a project manager" - without a task instruction leaves the model with nothing to act on. The task is the one element that is always required. If you include nothing else, include the task.
Mistake 2: Including All Seven Elements by Default
The framework is not a template to fill in every time. Adding elements that the task does not need adds length without adding clarity. A simple request - "List five synonyms for 'clear'" - needs only the task. Wrapping it in a role, context, tone, and constraints does not improve the output.
Mistake 3: Using a Role Cue Without a Purpose
Opening every prompt with "You are an expert in X" is a habit, not a strategy. A role cue is useful when the professional framing changes the vocabulary, register, or perspective of the output in a way that serves the task. If the framing does not meaningfully change the output, leave the role out.
Key Takeaways
- The 7-Element Prompt Framework - Role, Task, Context, Format, Tone, Constraints, and Examples - gives you a structured starting point for writing clear prompts. Task is the only required element; add the rest as needed for the output.
- Role and Tone are distinct: Role frames who is speaking; Tone describes how the output should sound. A role cue does not automatically set tone.
- Format and Constraints prevent the most common misfires - wrong output structure and out-of-scope content.
- Examples are most useful when the required style is easier to show than to describe.
- When output does not match your need, identify which element is missing or unclear and adjust that element - one at a time.
What to Try Next
Pick one prompt you use regularly - a summary, a draft, a list. Write it out using the seven-element framework. Include only the elements the task needs.
Run the prompt and compare the output to what you normally get. Identify which element made the biggest difference. Adjust and run it again.
If you want to go deeper, Chapter 4 of the Learning Prompt Engineering eBook walks through the full seven-element framework with additional examples, a worked iteration loop, and guidance on building a personal prompt library.



0 Comments